
You have seen how to implement localization locally in Part 1 of the blog:
Here, I will explain the following topics:
- How do I implement localization Externally?
Approach 2:
- For creating the project in angular cli, you can refer to Part-1
Step for implementation of localization using External JSON files using Firebase
- Firebase is a Backend-as-a-Service (Bass)
- It helps the developers develop quality apps and grow userbase by providing various tools and services
- It is built on Google infrastructure
- It can be categorized as a NoSQL database
- For more reference: https://firebase.google.com/
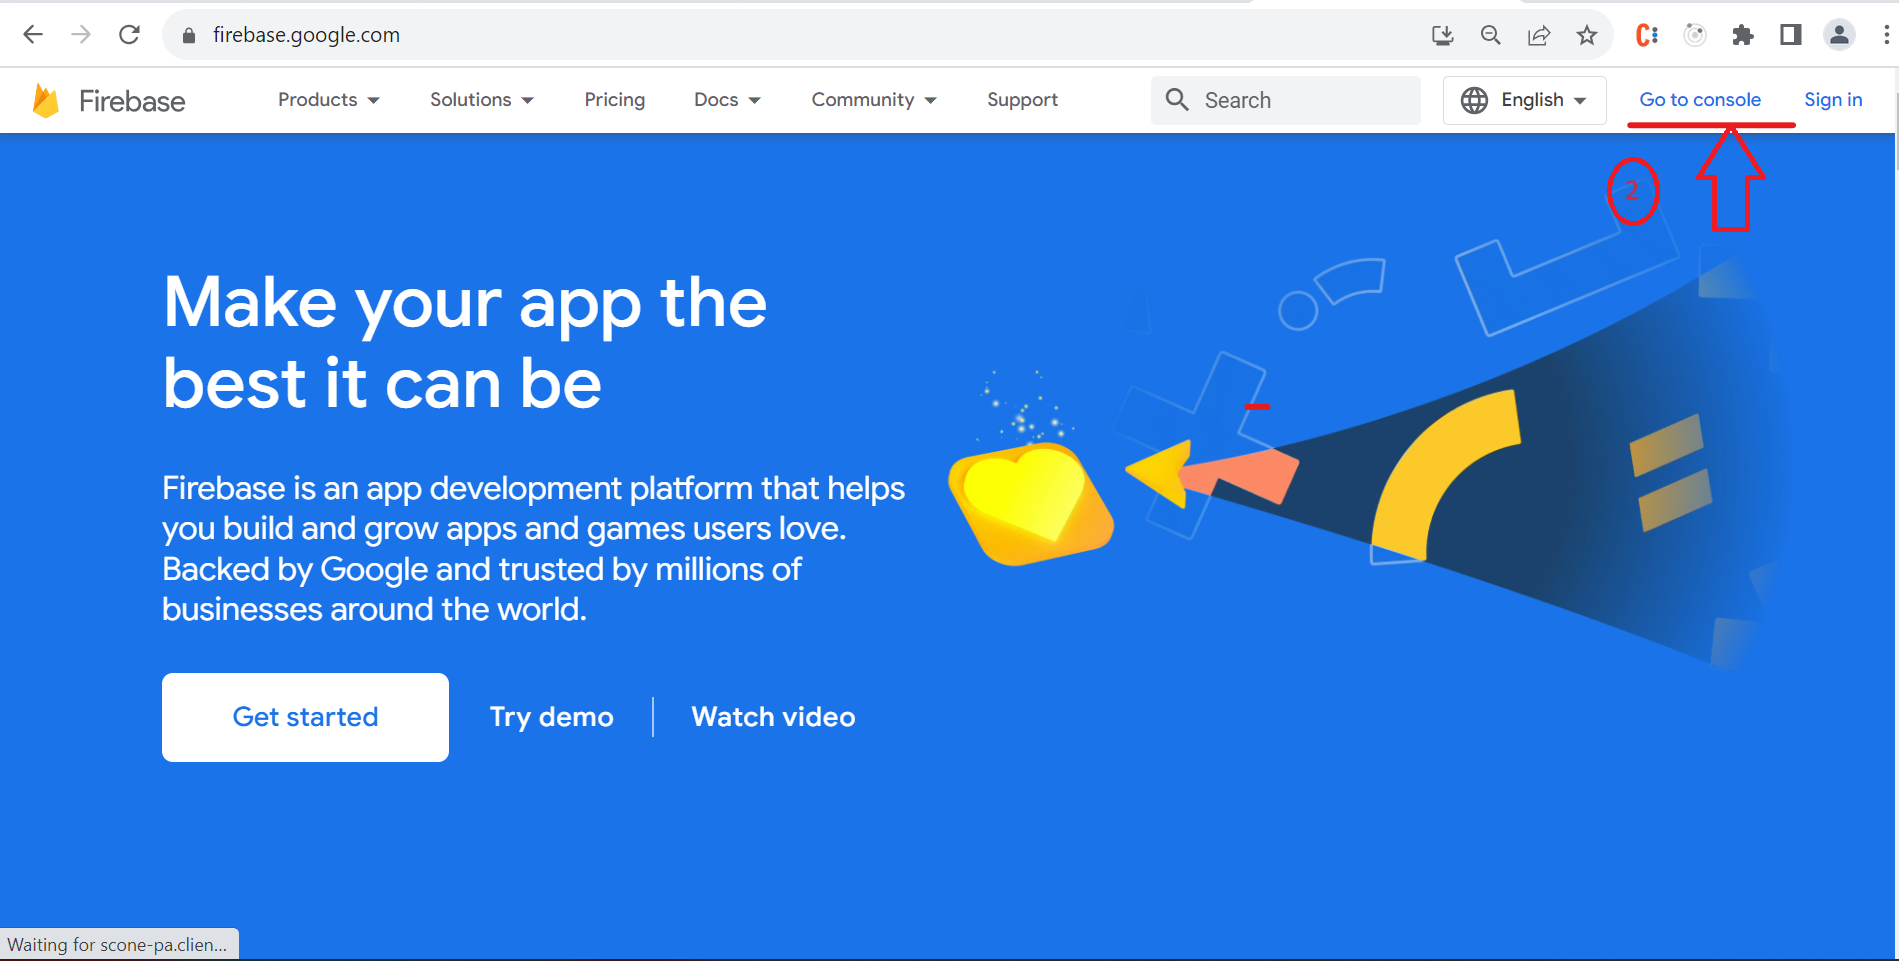
- If you already have a Firebase account, you can log in using a Google account; otherwise, you must sign up for Firebase
- You need to set up a Firebase account using the Firebase console
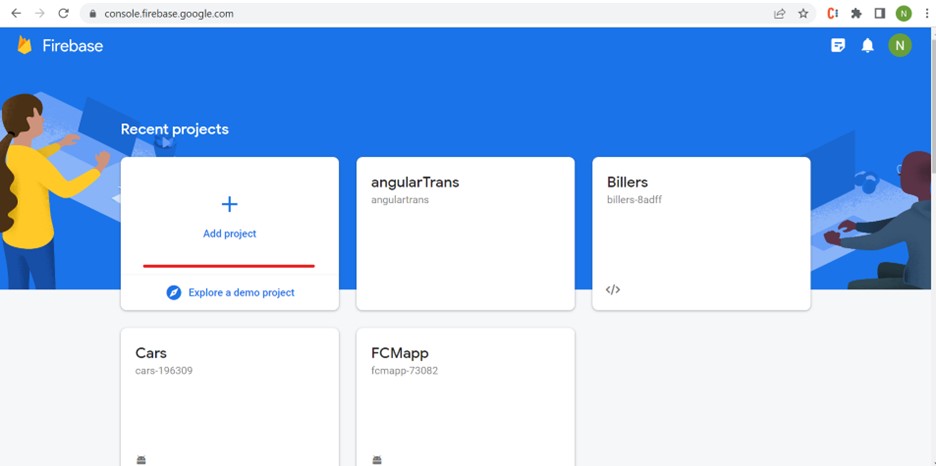
- Required to create a new project in Firebase
- You can “add project” to create a new project
- You can also find your previously created project list
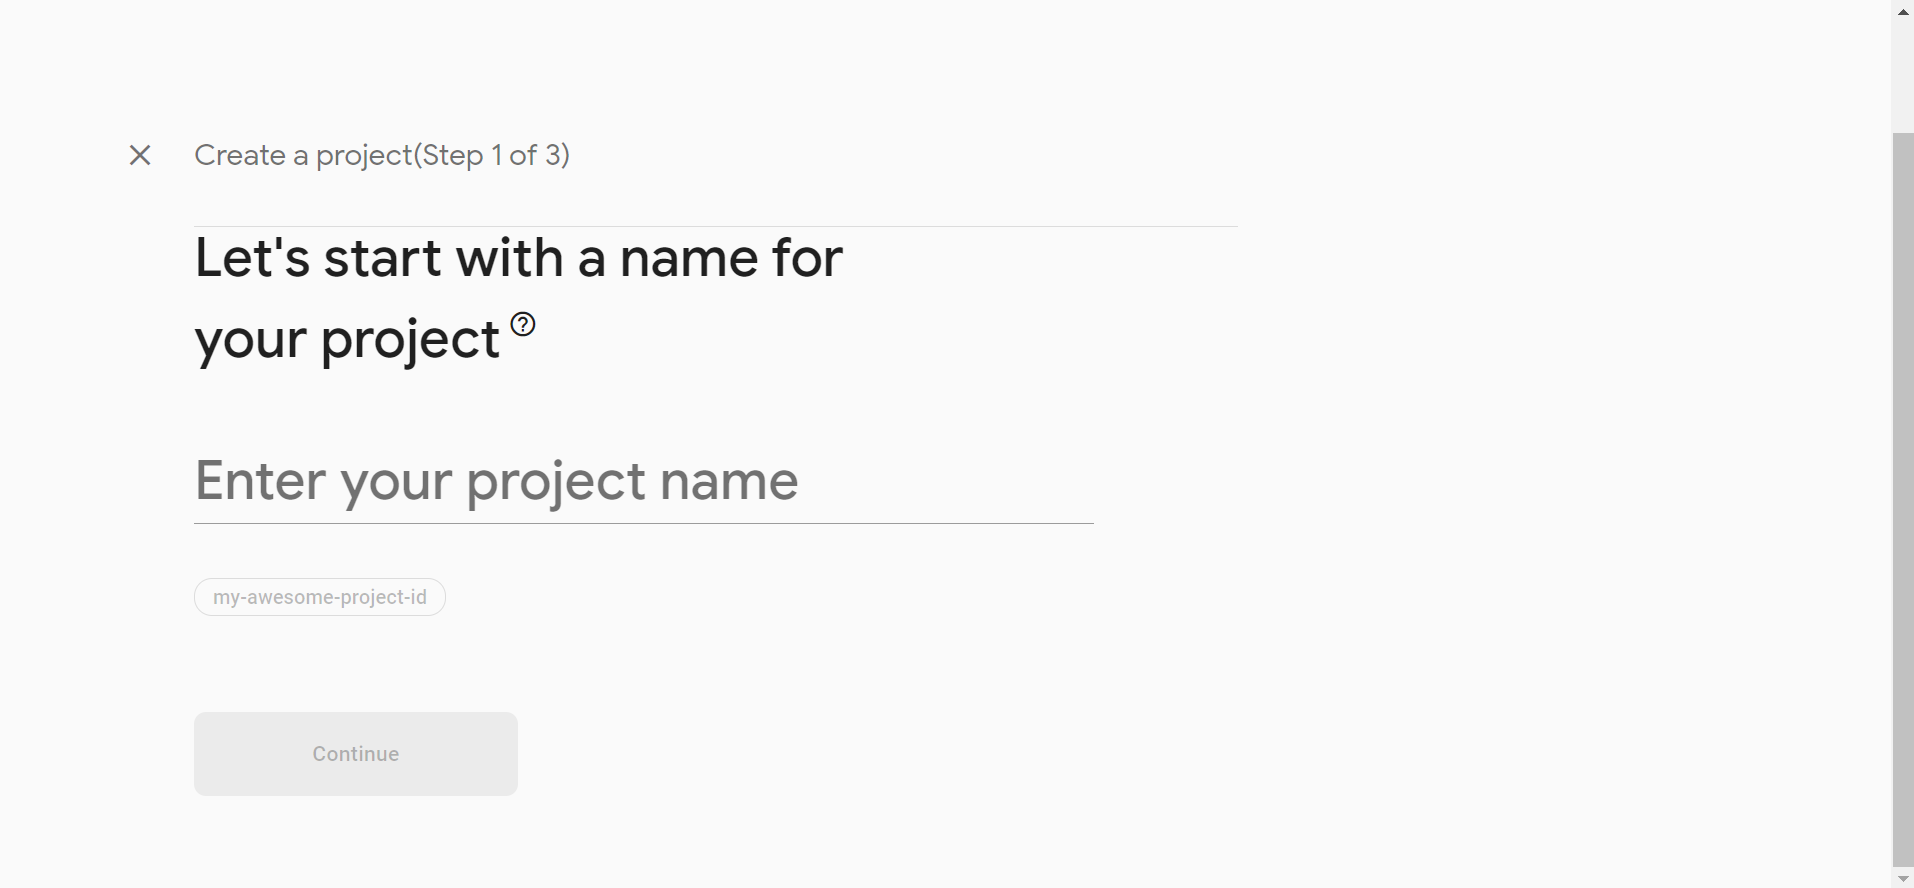
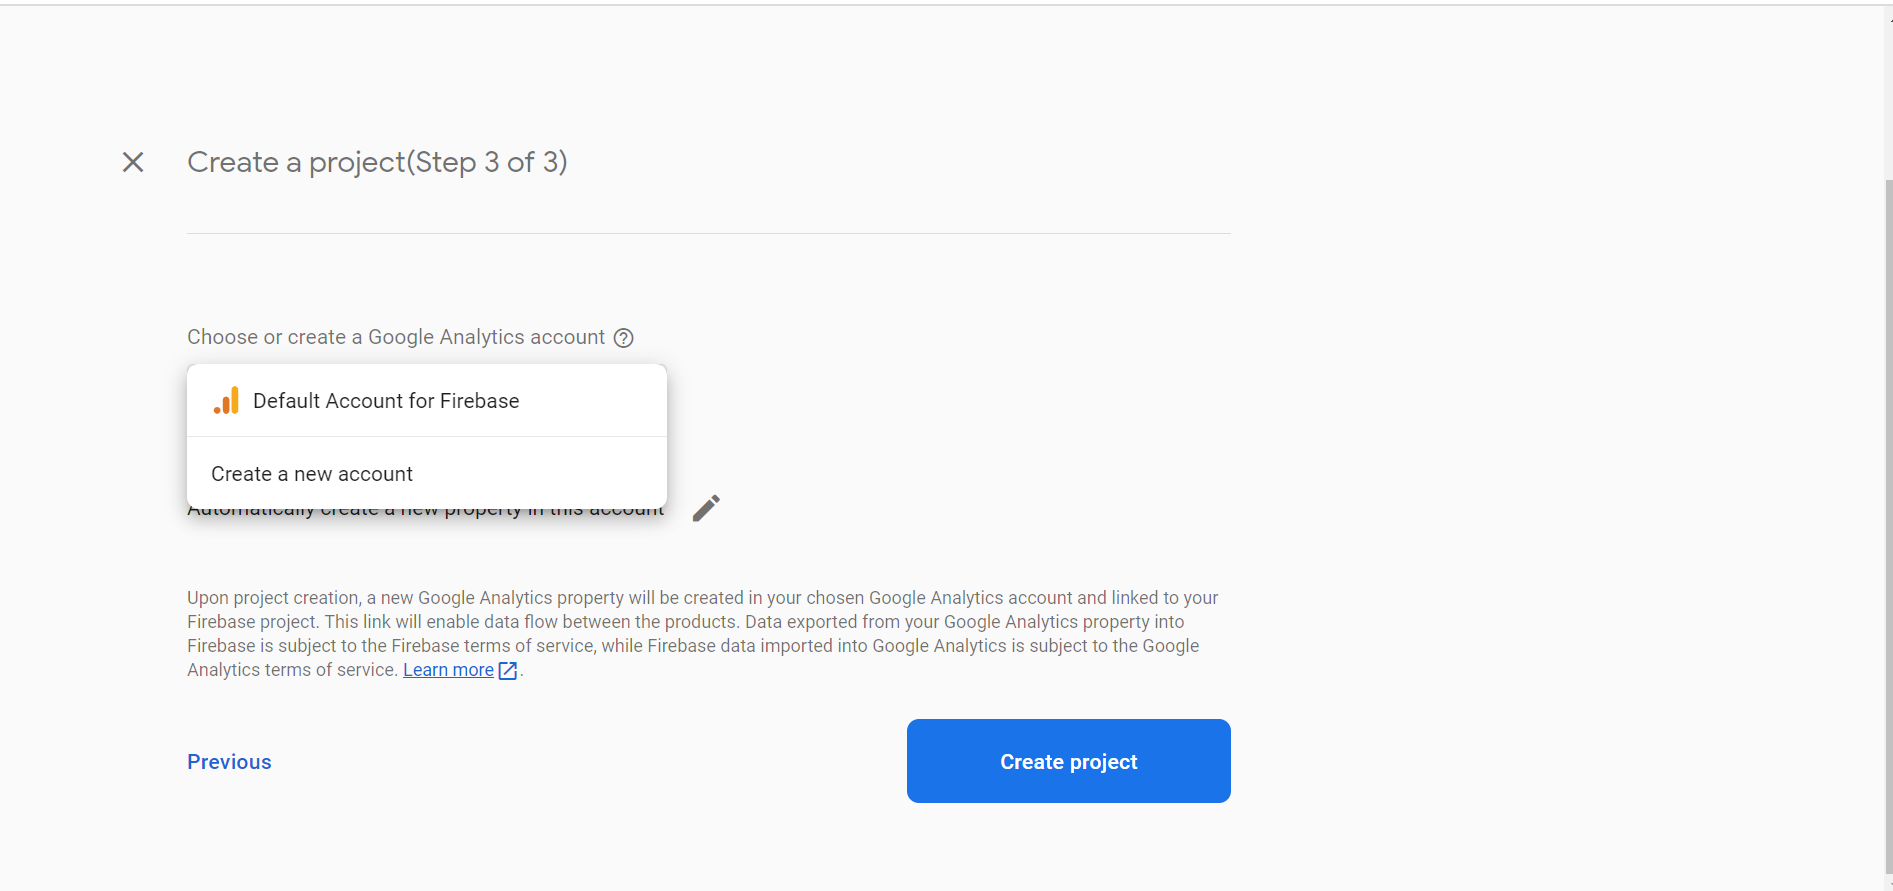
- You must follow these steps when you click on the add project
– Add project name
– Configure Google Analytics
- After creating a project, you will have to navigate to the project overview screen
- On the left side, under the Build menu, you will get the Storage menu
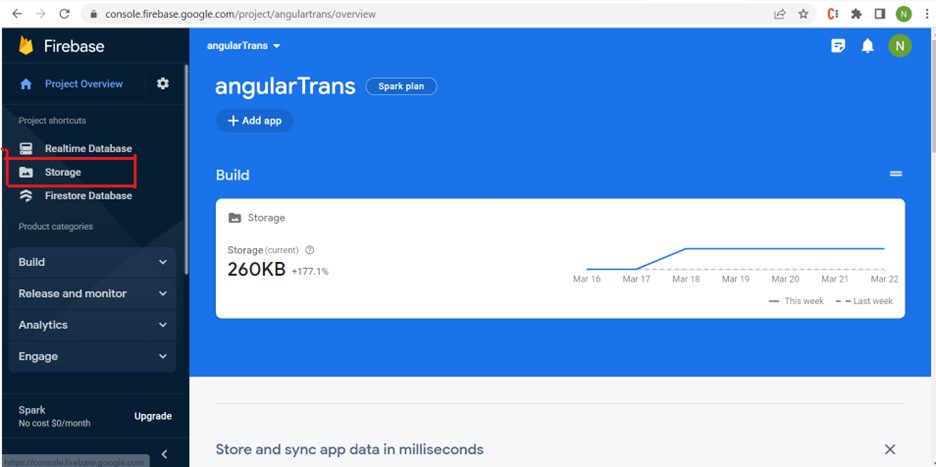
- Choose Storage and click the Get started button
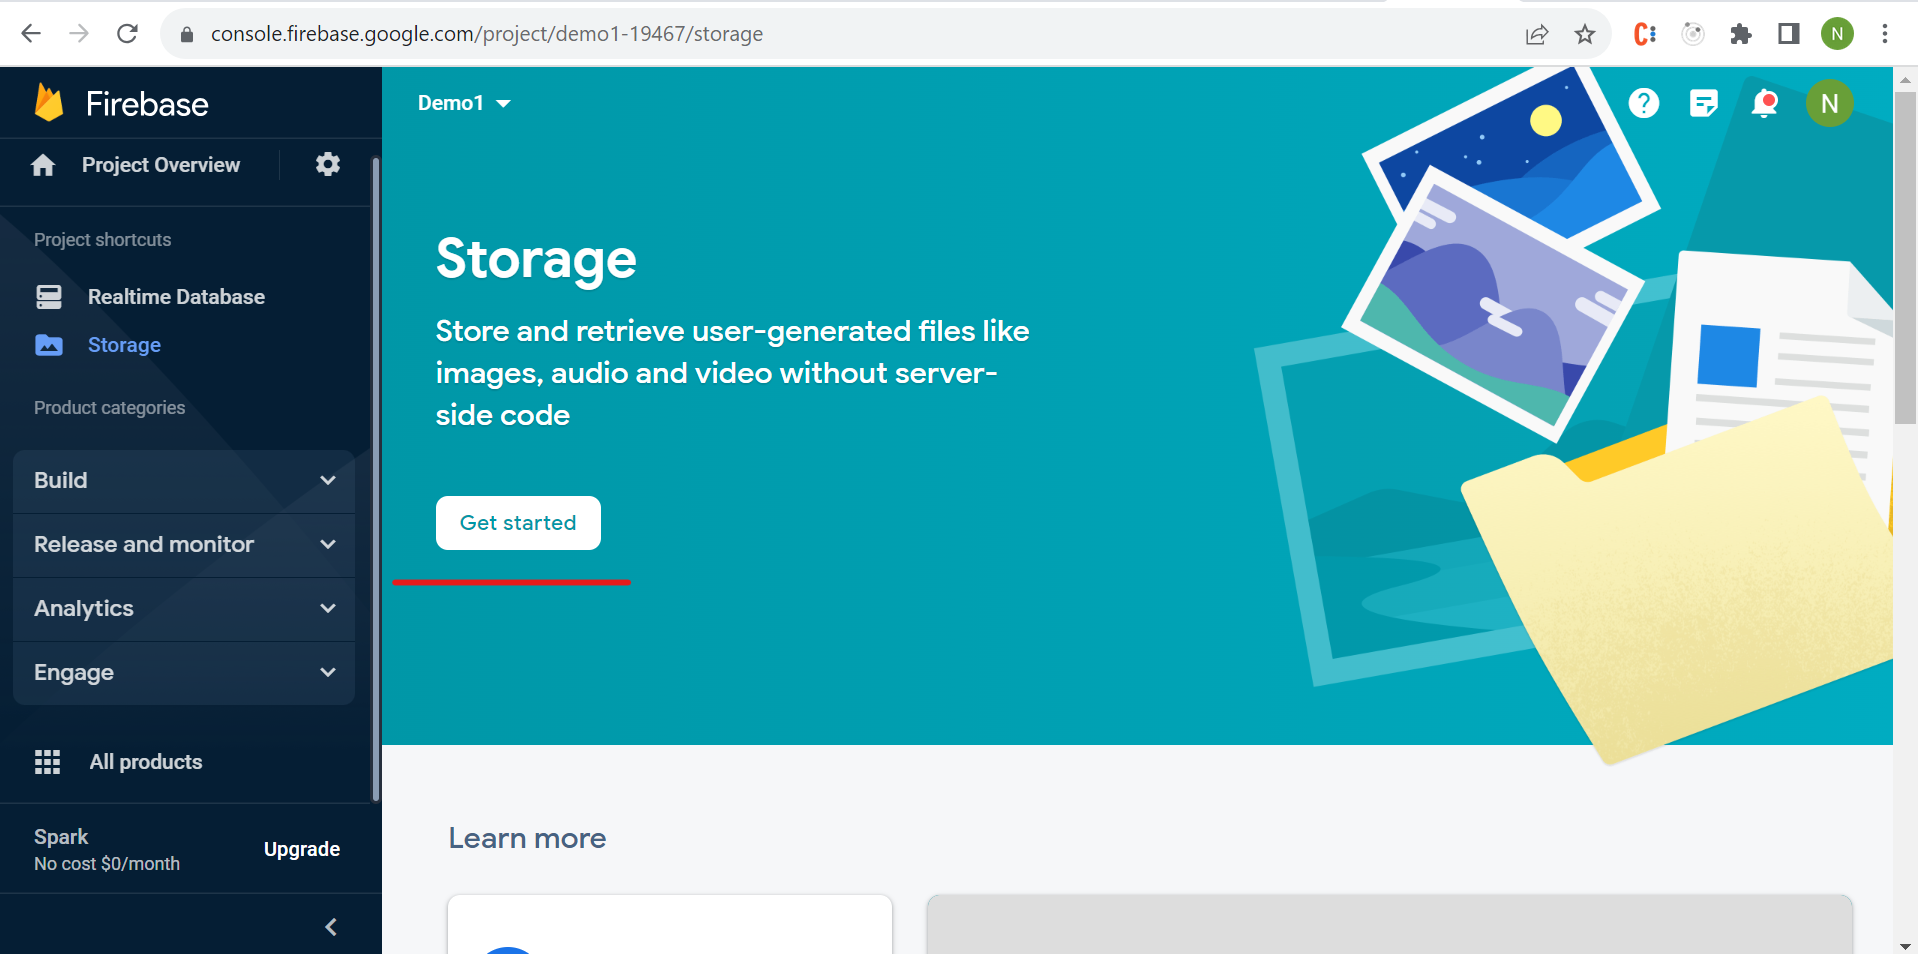
- You will get a pop-up for choosing test mode

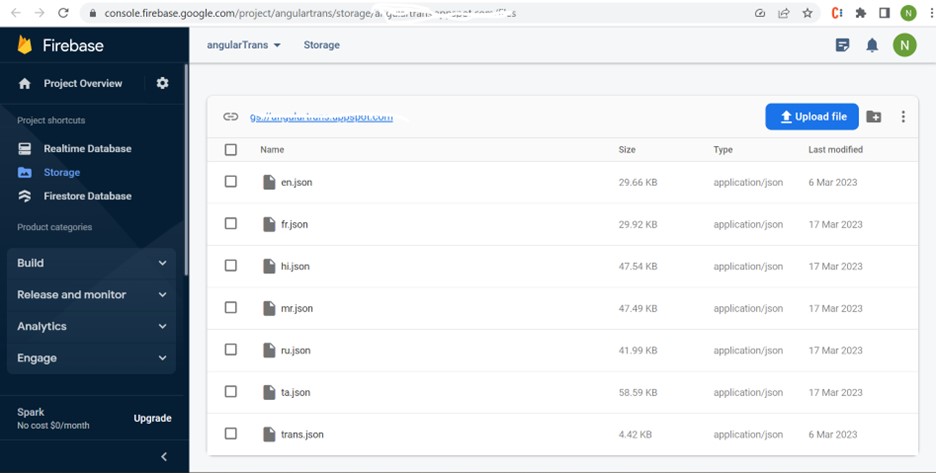
- Upload all the language JSON files in the Storage by clicking the Upload File button
- The browse file pop-up will appear from your local folder when clicking the upload file button. You can choose the file that you want and upload it
– You need to click on the uploaded JSON file to obtain the URL link
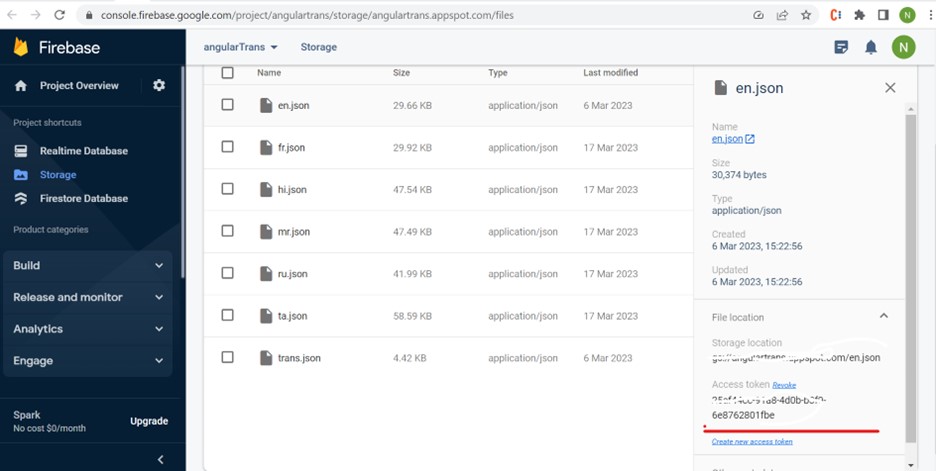
– You can use this URL in services as you do an http get request. You need to give the URL in the get method in a similar way
public fetchLanguageJson(key:string) {
const url= ‘https://firebasestorage.googleapis.com/v0/b/angulartrans.appspot.com/o/’+`${key}`+’.json?alt=media&token=Your_access_token’
const lang = this._http.get<any>(URL);
return lang;
}
– Fetch all the JSON data by calling the service in the component where you want to use translation and bind the response in the HTML
your_servicename.fetchLanguageJson(‘en’).subscribe((response) => {
//You will get the data in response
}
– Run the code using “ng serve”
Approach 3:
Google Translation API:
- It is a translation service provided by Google for converting one language to another
- They have provided a total of 100 languages
Step to implement localization using Google Translation API.
- You need to log in to the Google console using a Google account; if you don’t have a Cloud Google account, you need to sign up
- They have provided the Google translation button
- Add the button div where you require the translation dropdown
<div id=”google_translate_element” ></div>
- We need to add Google API reference using the script
- Here, you have google service base URL
– https://translate.googleapis.com
– One service might have multiple service endpoints
– detectLanguage: Detects the language of text within a request
– getSupportedLanguages: Returns a list of supported languages for translation
– translateText: Translates input text and returns translated text
<script type=”text/javascript” src=”https://translate.google.com/translate_a/element.js?cb=googleTranslateElementInit”></script>
- Add the JavaScript function inside ngAfterViewInit().
ngAfterViewInit() {
var v = document.createElement(“script”);
v.type = “text/javascript”;
v.innerHTML=”function googleTranslateElementInit() {
new google.translate.TranslateElement({pageLanguage:’en’
}, ‘google_translate_element’);
} “;
this.elementRef.nativeElement.appendChild(v);
var s = document.createElement(“script”);
s.type = “text/javascript”;
s.src = “//translate.google.com/translate_a/element.js?cb=googleTranslateElementInit”;
this.elementRef.nativeElement.appendChild(s);
var element = document.getElementById(‘google_translate_element’);
element.addEventListener(‘change, (event) =>{
localStorage.setItem(‘targeting, event.target[‘value’]);
});
}
setCookie(key, value) {
document.cookie = ‘${key}=${value}’;
}
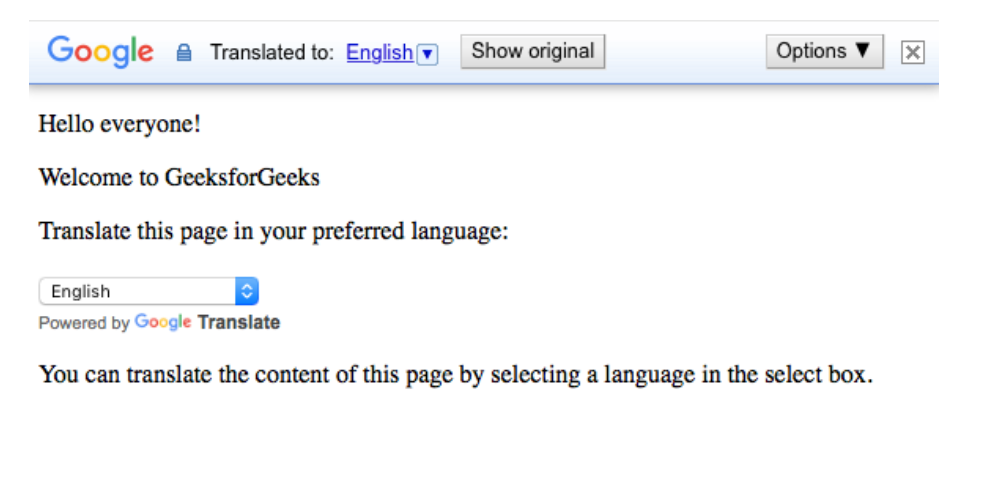
– Output:
– You will get the language option in the header section
– Click on the language dropdown you can choose the language which you need to translate the text
– If you don’t need the header, like Google icon or translation options, you must give style and hide those things
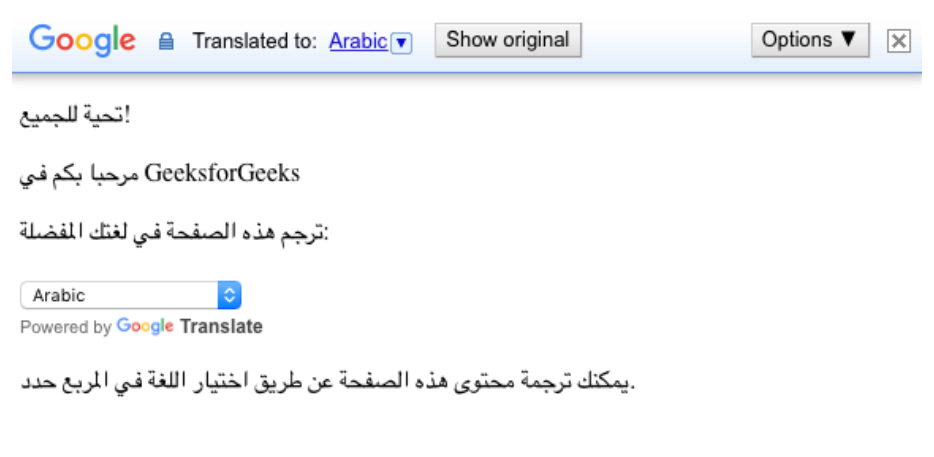
- Output after the language changed to Arabic.
- For further reference: https://cloud.google.com/?hl=en
Wrapping Up:
Hopefully this article has helped use localization in Angular applications and you understand how to use the translation files externally using Firebase. You must also have generated an idea of how Firebase stores them, and have also got to know how to auto-translate using Google Translation.
References:
- https://www.freecodecamp.org/news/how-to-implement-localization-in-angular-using-i18n-tools-a88898b1a0d0/
- https://crowdin.com/blog/2023/03/20/angular-localization-and-i18n
- https://cxxyao2.github.io/angular-localized-routed-deployment-to-firebase.html
- https://firebase.google.com/docs/hosting/i18n-rewrites
- https://phrase.com/blog/posts/angular-localization-i18n/