


Purpose of the article: The article aims to educate WordPress users about common pitfalls that can hinder their website’s success and provide practical solutions to
Purpose of the article: This blog explains the process of developing a serverless S3 file downloader with Python, AWS API Gateway, and Lambda. Intended Audience:
Purpose of the article: In This article explains about effectively copy the latest and modified files from multiple folders within in Azure Blob Storage to
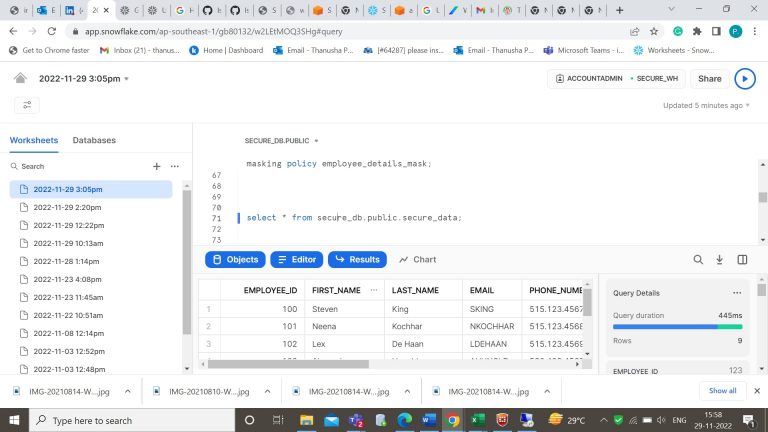
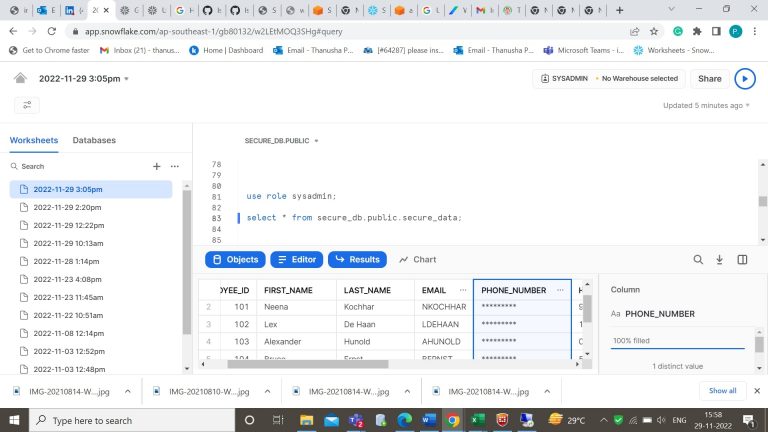
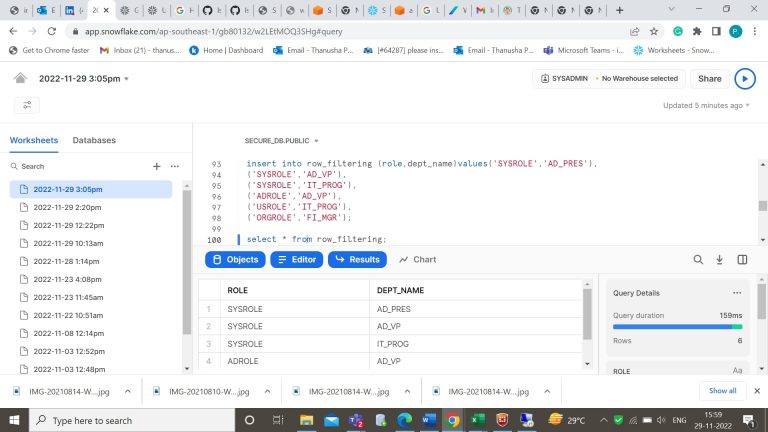
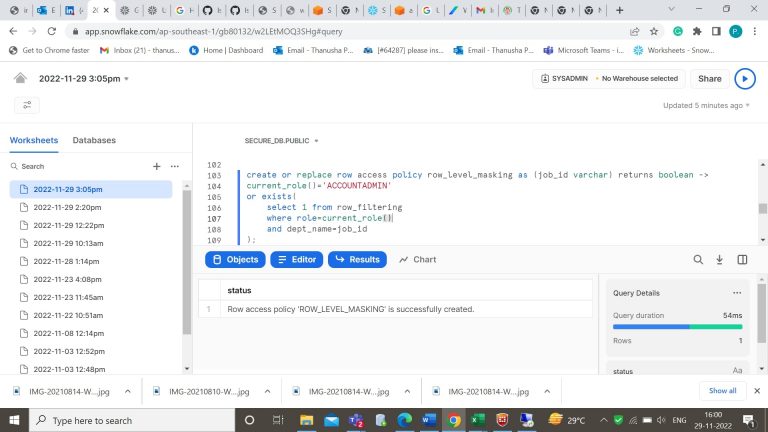
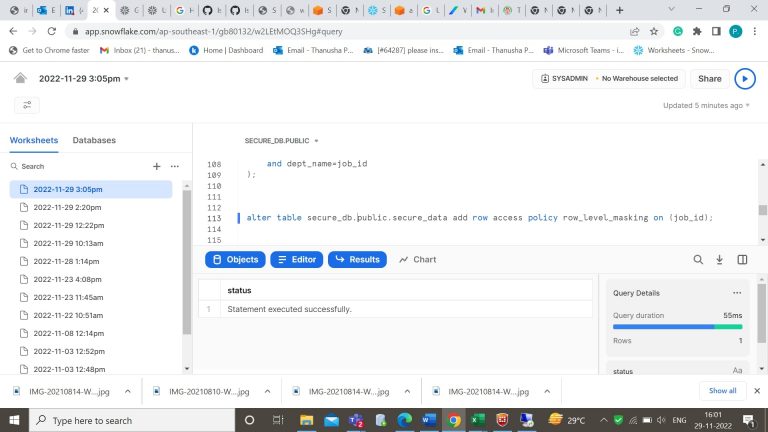
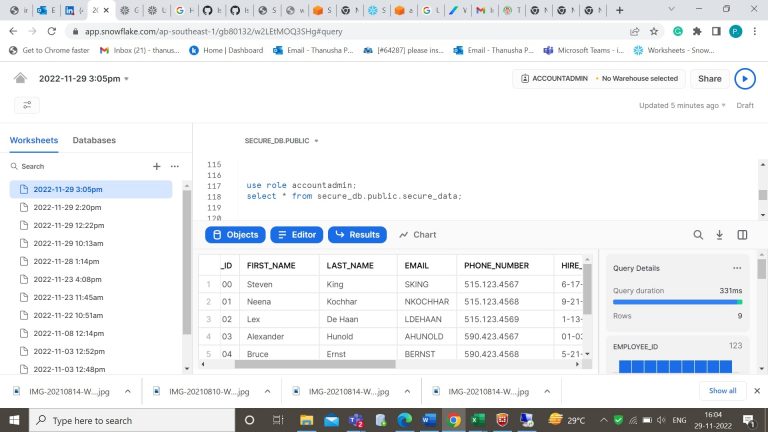
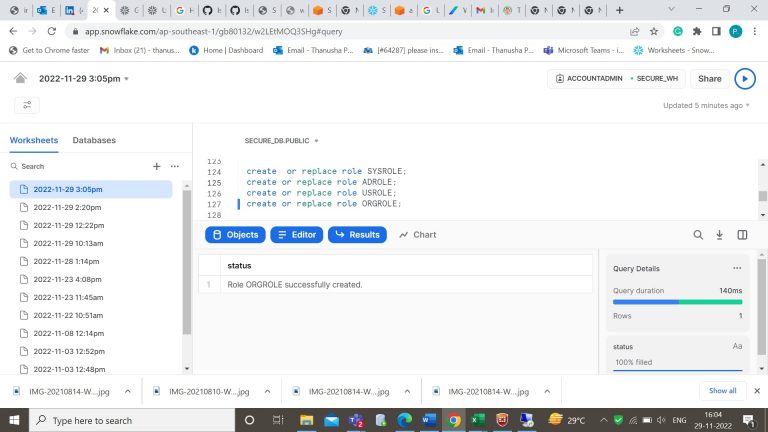
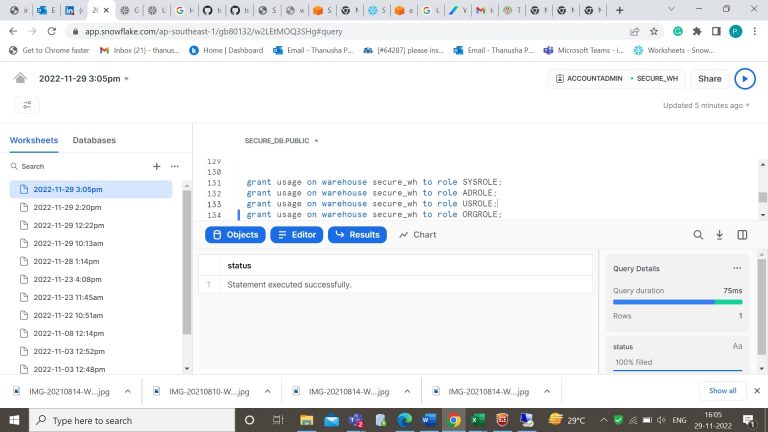
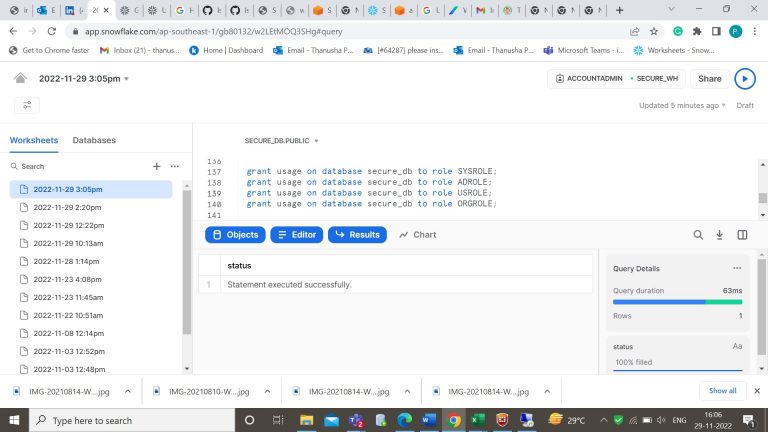
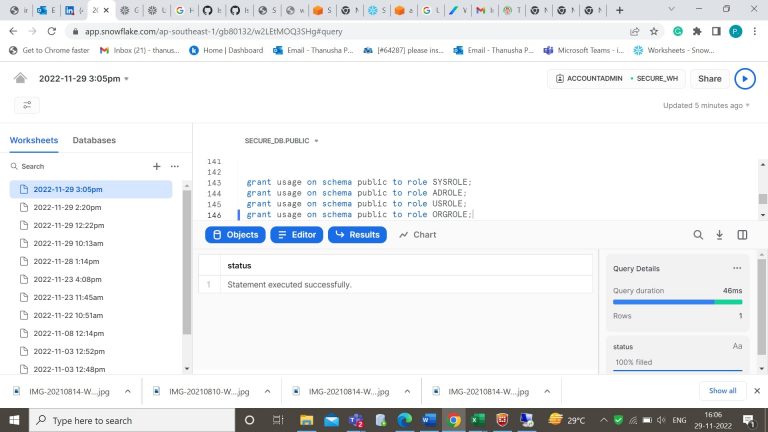
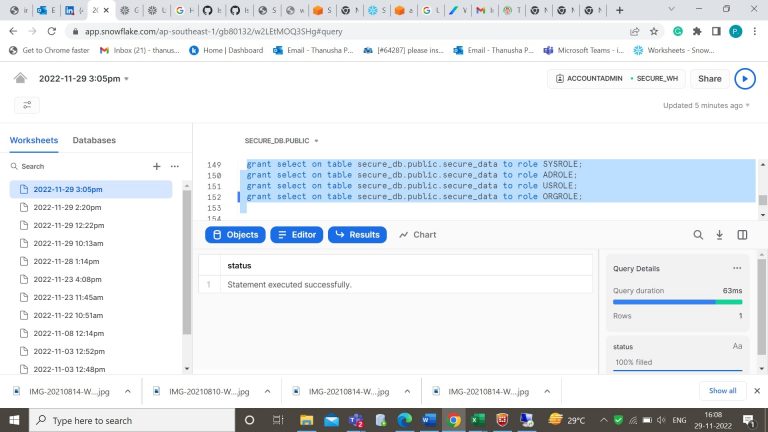
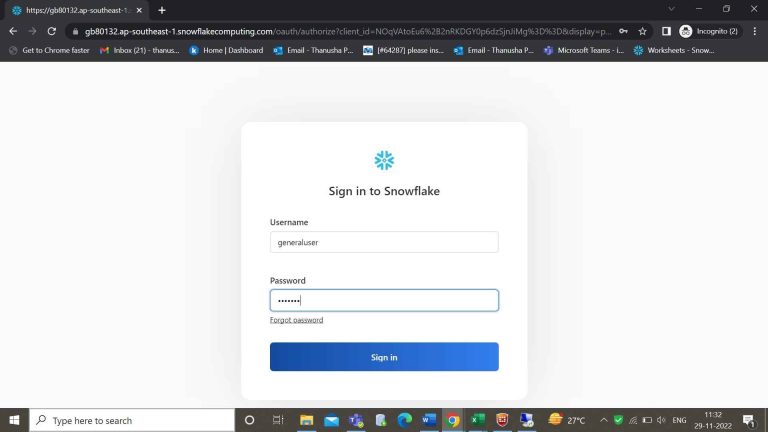
Purpose of the article: To explain how Large Language Models (LLMs) can be utilized to convert natural language queries (NLP) into SQL queries effectively. It