Purpose of the Article: This blog explains how to load the data from Salesforce to Snowflake
Intended Audience: This article will help our Organizational level kind of developers working on data migration from the Salesforce to snowflake Data warehouse by using Matillion
Tools and Technology: Salesforce to snowflake Data Warehouse by using Matillion
Keywords: Data migration from the Salesforce to snowflake Data warehouse by using Matillion
Objective:
- Data migration from the Salesforce to snowflake Data warehouse.
ARCHITECTURE:
Below is the architecture we implemented to achieve the required solution of loading the data from Salesforce to Snowflake.

We need to create a Table in Salesforce.
To create a table, first, we need to create an app manager.
THEN THE PROFILE GOT CREATED:
Create an object in Salesforce:
And then, fill in the fields and save them. A custom connector will create.
Create and select the custom tab; after selecting the custom tab, it will redirect to the below object dropdown list. Select “Customer1,” which we created initially.
After Creating Custom Tab, the Setup and search for PRODUCT.
After opening the PRODUCT tab, we can see the PRODUCT LIST as shown below on the right side of its customer’s table will be located. Then Click on the New tab to create a Customer Name:

Give the Name in Customer Name and save it. Then a new field will be added to the Customers table.
Need to select Warehouse in Snowflake:

Need to Create Table in Snowflake:

After Creating the table, we need to create a stage in Snowflake.
Activates the S3 Staging Area property, allowing users to specify a custom staging area on Amazon S3. The Stage Authentication property is also started, letting users select a method of authenticating the data staging.

Create an Excel sheet and fill in whatever I have created in the Salesforce table same I have filled in Excel Sheet.
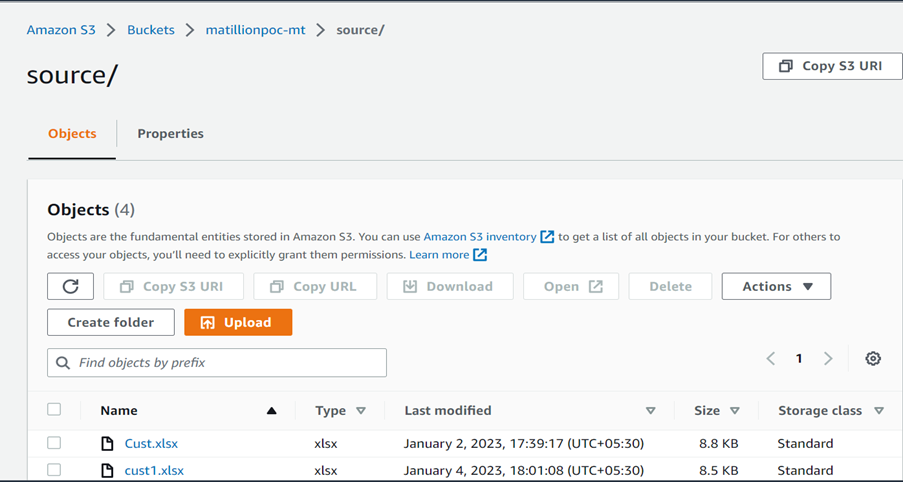
Step to implement the data migration from Salesforce to Snowflake:
Go to Matillion and login into it.
Then Need to select Project.
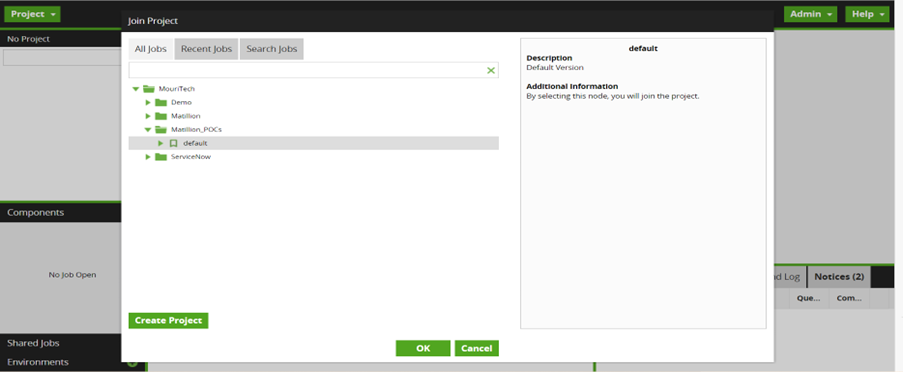
Right, Click on Default. Click on Create folder option and create the folder with the Name:

After creating the folder, click on the default tab and click on the million examples. Then you can see your folder name.
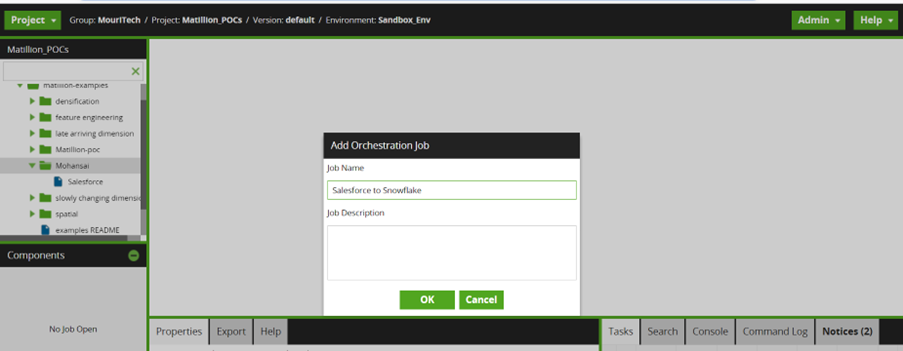
Then right-click on your folder name and click on ADD Orchestration Job and create the Job Name.
Go to Components and Click on Orchestration, then Click on Connectors, Click on Loads, and select Salesforce Query0.
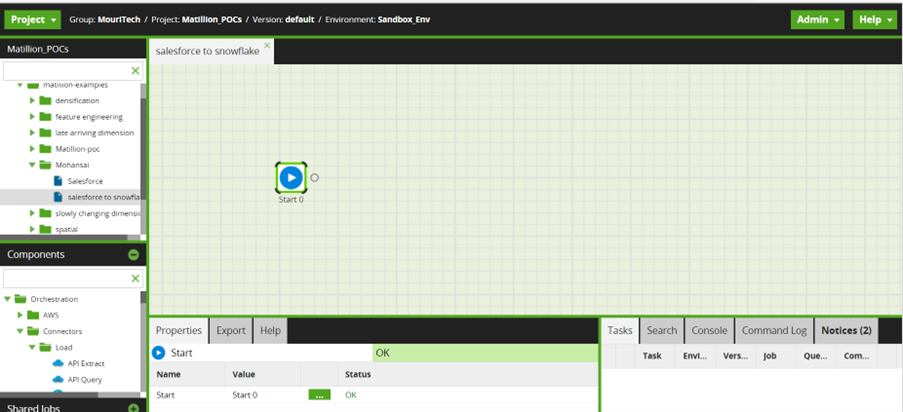
Drag the component Salesforce query from the connector and configure it, as shown below.
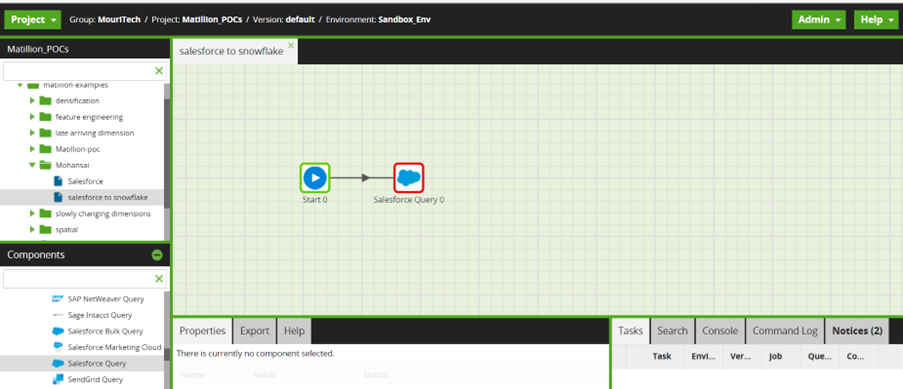
Then Click on Salesforce Query and give the Username and Password credentials of Salesforce.

Need to get a Salesforce Security token.
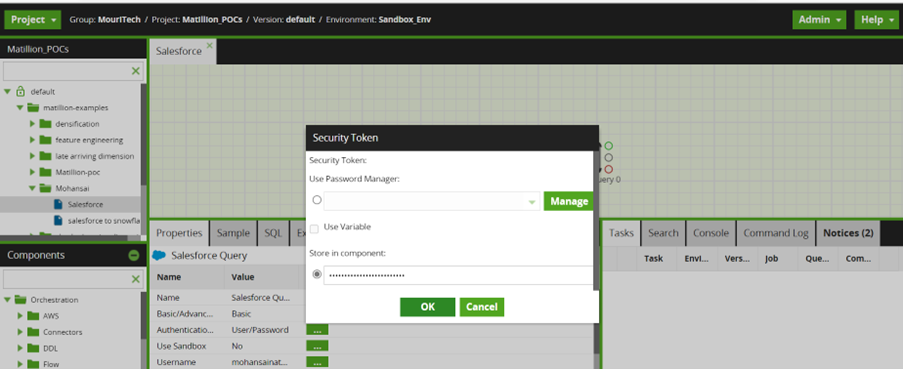
Click on Connection OAuth. Click Add Parameters Select OAuthAccessTokenURL in Parameter, and Paste your Security Token in Values.

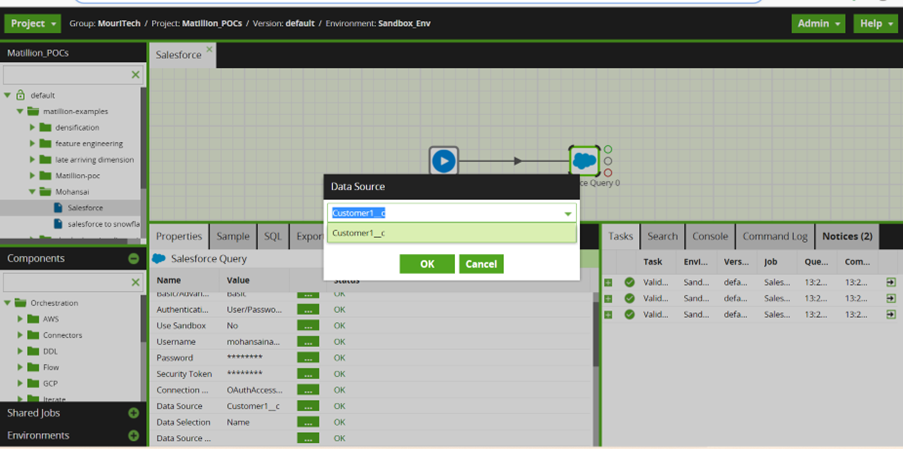
Click on Data Source when it opens, click on the dropdown, and select your table custom objects if you have created them in your Salesforce account.
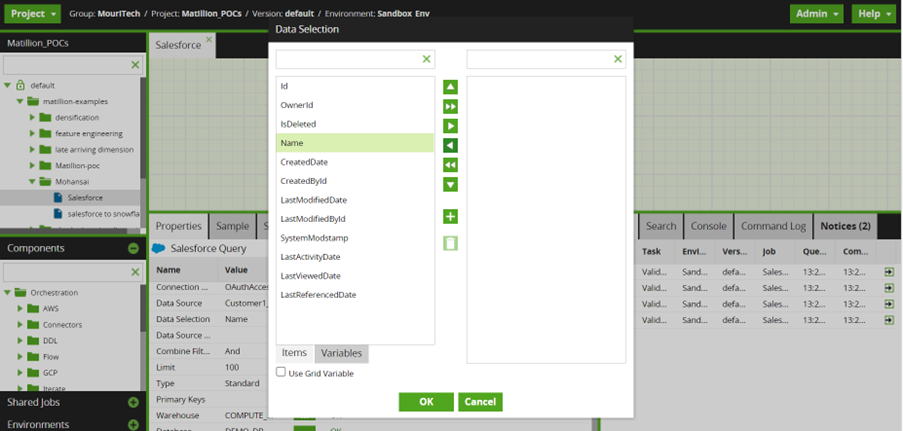
Click on Data selection and select Name and drag to the right side.
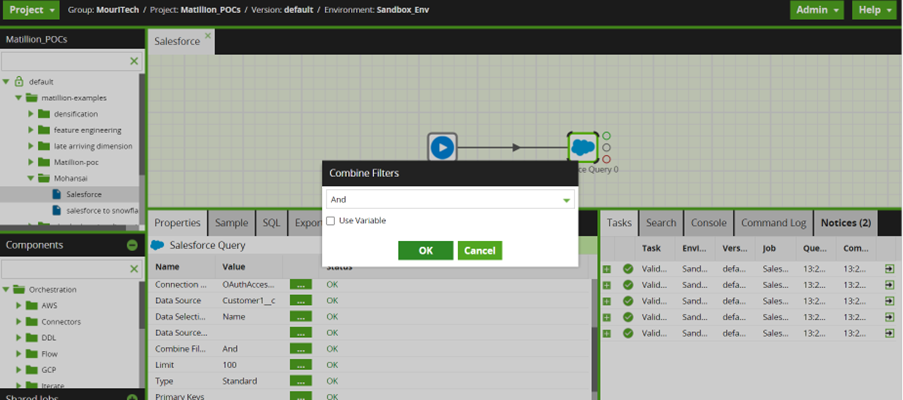
In combined filters, select AND and Set the limit as 100.
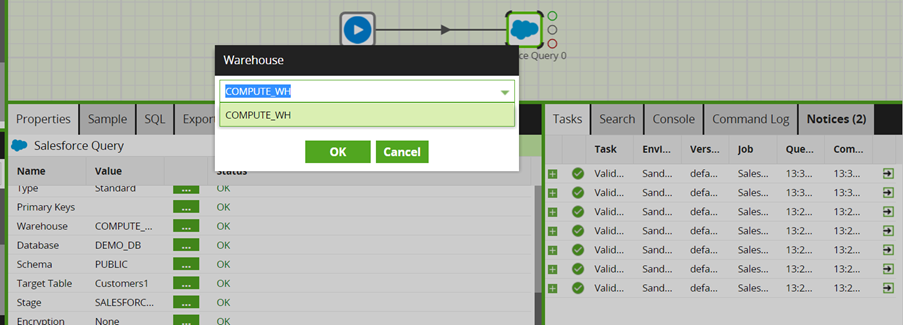
Click on Warehouse and Choose a COMPUTE_WH Snowflake warehouse that will run the load.
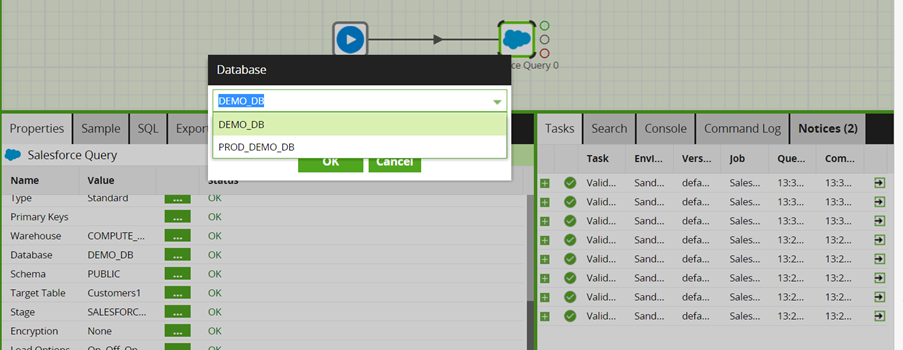
Click on Database and select the DEMO_DB database to create a table in it.
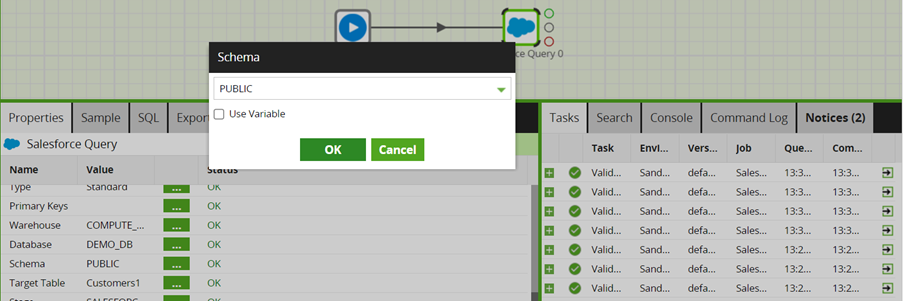
Click on Schema and Select the PUBLIC Schema that will use the schema defined in the environment.
Click on the Target table and enter the Customers1 table name created in the Snowflake table name.
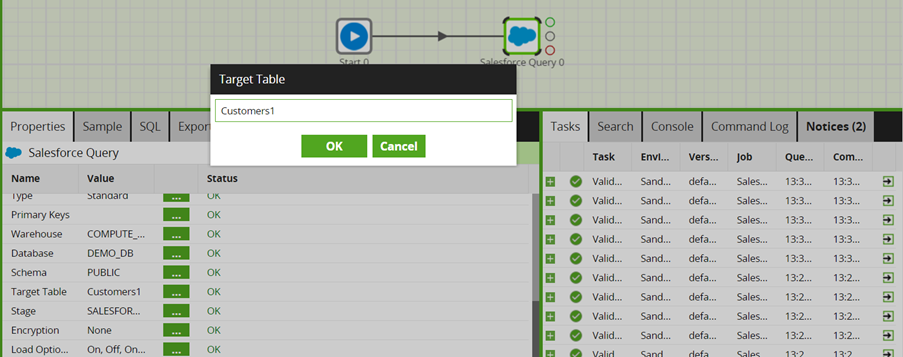
Click the Stage and Select the Stage that you have created a stage in Snowflake.
After completing this check, error messages.
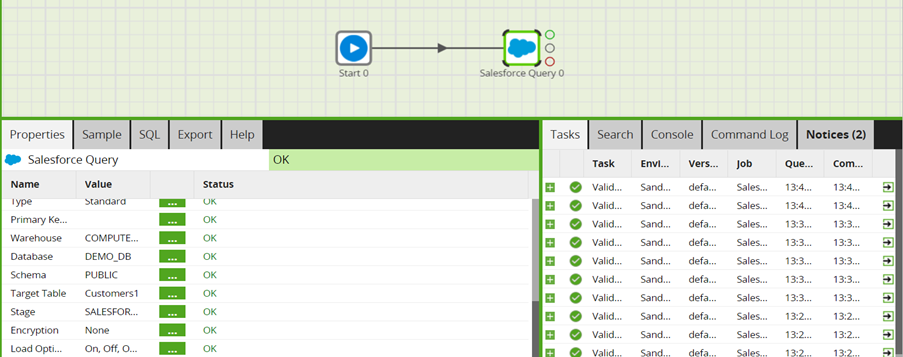
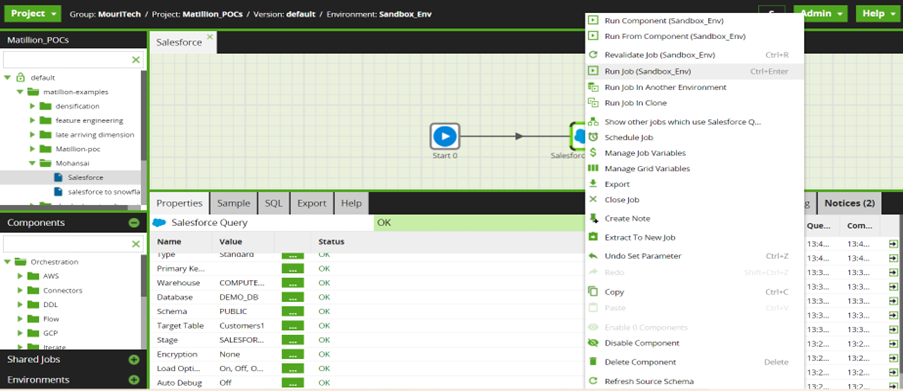
If you didn’t get any error message, then right-click on the Salesforce query, and run the Job.
Running the Salesforce Query
The final mandatory properties for this component are the Target Table name and an S3 Staging Area. The latter is the URL of an S3 bucket, which will be used temporarily to stage the queried data. You should be able to use the dropdown list of values.
You can run the Orchestration job, either manually or using the Scheduler, to query your data from the Salesforce API and bring it into Snowflake.
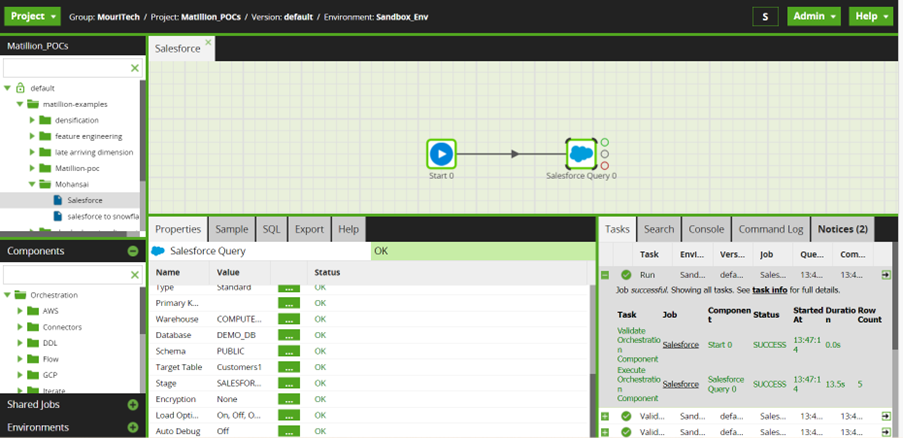
After the Job runs successfully, click on “+,” which is at the bottom, and check the row count to check whether all row of data is loaded successfully or not.
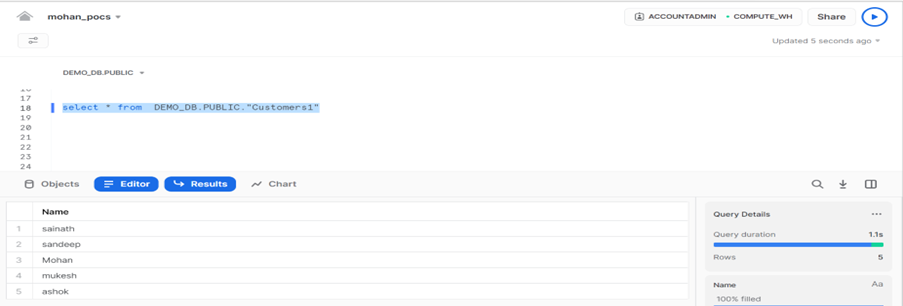
Then Open the Snowflake account and run the Customers1 table and check whether the data loaded in Snowflake or not.
Author Bio:

Mohansainath Reddy Chundi
Data Engineering-Analytics
This is Mohansainath Reddy CHUNDI working as an Associate Software Engineering at Mouri Tech for the past 1.8 years. I have good experience in SQL, SSRS, SAP BODS, SNOWFLAKE, MATILLION


