
Purpose of the article: A lot of people are unaware that Reactjs can integrate SonarQube. therefore those who are eager to learn new technologies will find this post helpful
Intended Audience: Sonarqube, docker, reactjs
Tools and Technology: VS code, ReactJS ,Sonarqube ,Docker
Keywords: how to integrate sonarqube in react ,sonar integration in reactJS, how to integrate sonar in react project with docker
The topics that I am going to discuss revolve around:
- What is SonarQube?
- Why Sonar?
- Required things (versions)
- Installation of SonarQube
- How to integrate Sonar in Reactjs?
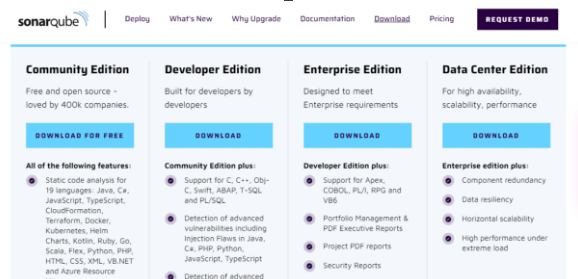
What is SonarQube:
- SonarQube is an online platform where developers can check the code quality, improve scalability, & code coverage
- SonarQube detects bugs, loopholes, code smells in a codebase
- After downloading Sonar (click me), it will take you to the community edition
- In case you want to choose any other edition, click here
Why Sonar:
- It includes a static code analysis tool that can be used to analyze source code without running it.
- It extends a continuous integration tool that helps you to detect and prevent defects.
- It can be added to CI/DC flows
Required things:
- To run Sonar we need to install docker (click here) (to install docker
for windows click on download windows and for Linux or any other download the relevant versions)
- JVM is required to run
Installation:
Step-1: Make sure you installed docker using above link
and then install the “sonarqube-scanner”package in your react project
yarn add –dev sonarqube-scanner
yarn add --dev sonarqube-scanner
Step-2: Create a docker-compose.yml file in the root of your project folder and add the below code
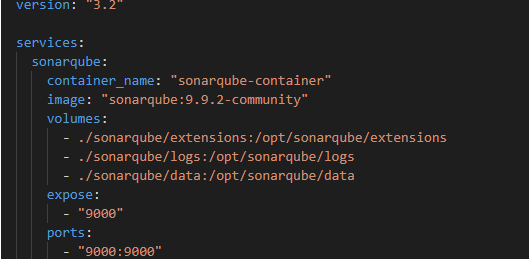
					version: "3.2"

services:
    sonarqube:
        container_name: "sonarqube-container"
        image: "sonarqube:9.9.2-community"
        volumes:
            - ./sonarqube/extensions:/opt/sonarqube/extensions
            - ./sonarqube/logs:/opt/sonarqube/logs
            - ./sonarqube/data:/opt/sonarqube/data
        expose:
            - "9000"
        ports:
            - "9000:9000"
Step-3: Create a sonarqube folder on your root project folder and add a sonarscan.js file with the following content.
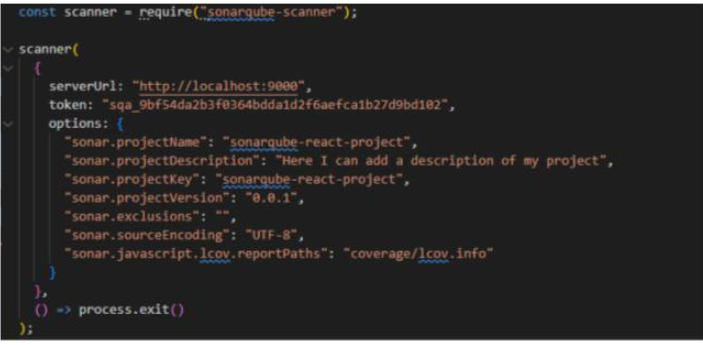
					const scanner = require("sonarqube-scanner");

scanner(
    {
        serverUrl: "http://localhost:9000",
        token: "sqa_9bf54da2b3f8364bdda1d2f6aefca1b27d9bd182",
        options: {
            "sonar.projectName": "sonarqube-react-project",
            "sonar.projectDescription": "Here I can add a description of my project",
            "sonar.projectKey": "sonarqube-react-project",
            "sonar.projectVersion": "0.0.1",
            "sonar.exclusions":
            "sonar.sourceEncoding": "UTF-8",
            "sonar.javascript.lcov.reportPaths": "coverage/lcov.info"
        }
    },
    ()=> process.exit()
);
you can customize Project name and Project key to update a token.
Step-4: To start sonar server, run the following command.
docker compose up
after docker up open http://localhost:9000. You should use below cred
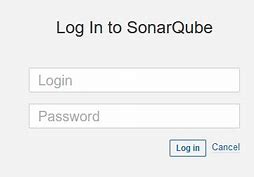
Step-5: After successful login, you will be able to see the below picture –
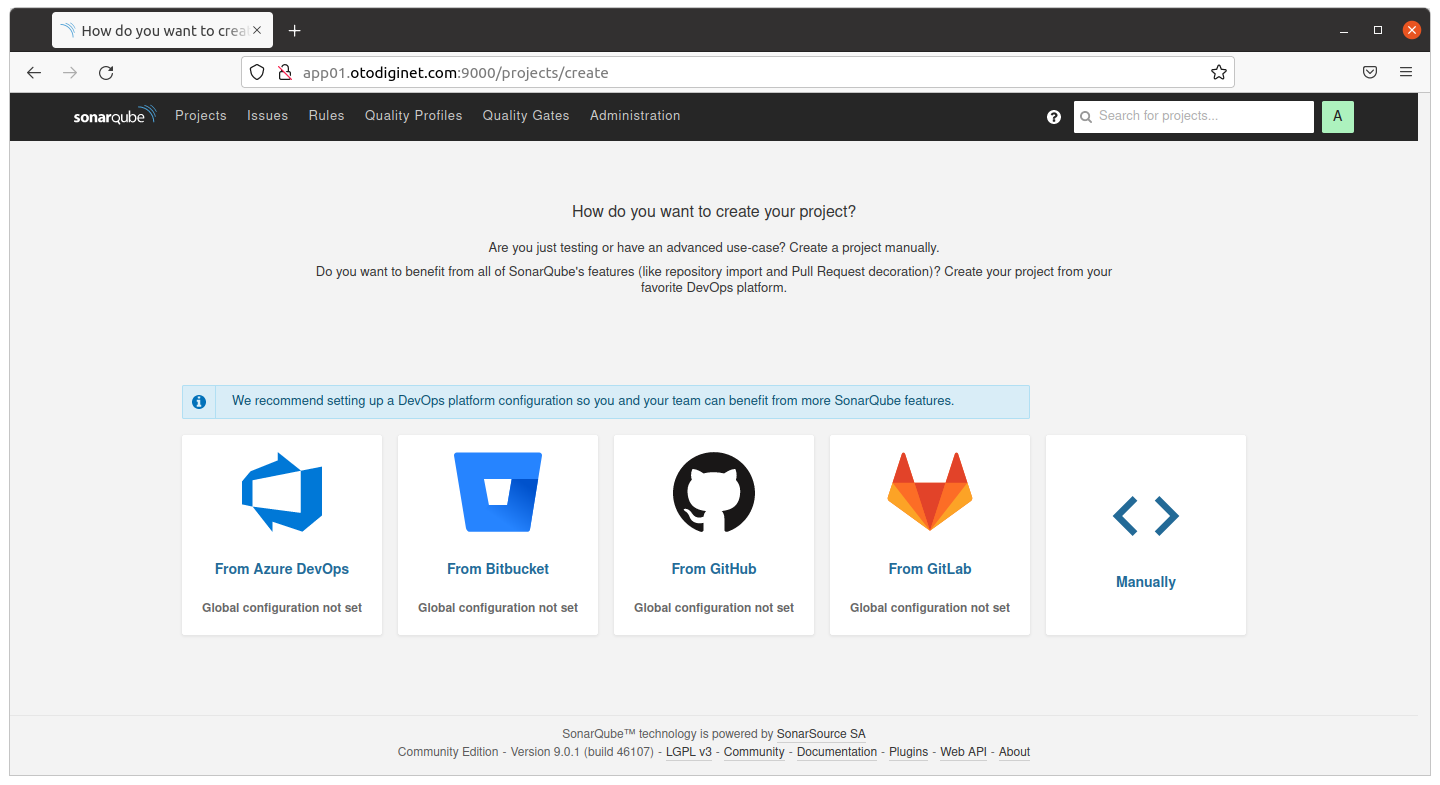
Step-6: Click on create a project by clicking manually and give project name & project key and click next
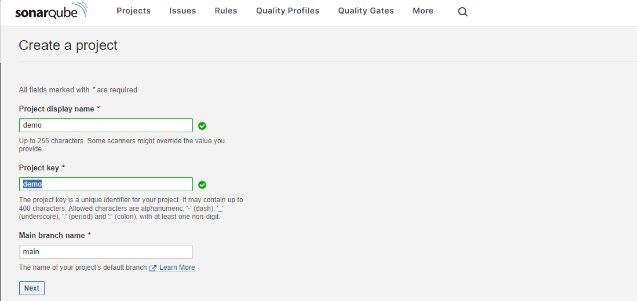
give a title to your project. Make sure the project display name and project key is the same
Step-7: Generate a token for the project, you can use any name you want. When the token is generated, make sure to keep it in a safe place to use when we needed.
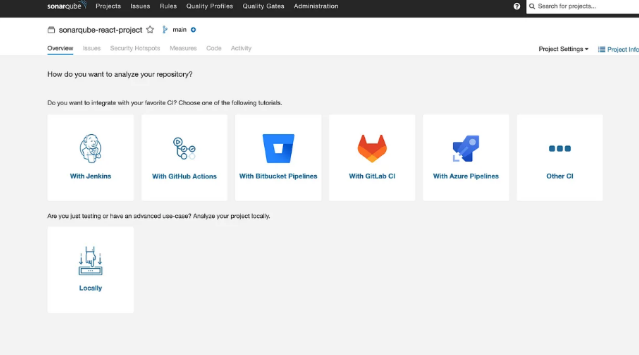
Click on locally.
Click on ‘generate token’.
Remember to save this token because it will be used in a future step to run an analysis
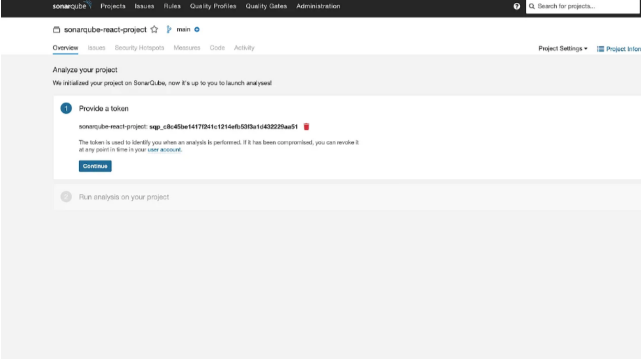
Make sure to replace the latest token in sonarscan.js file
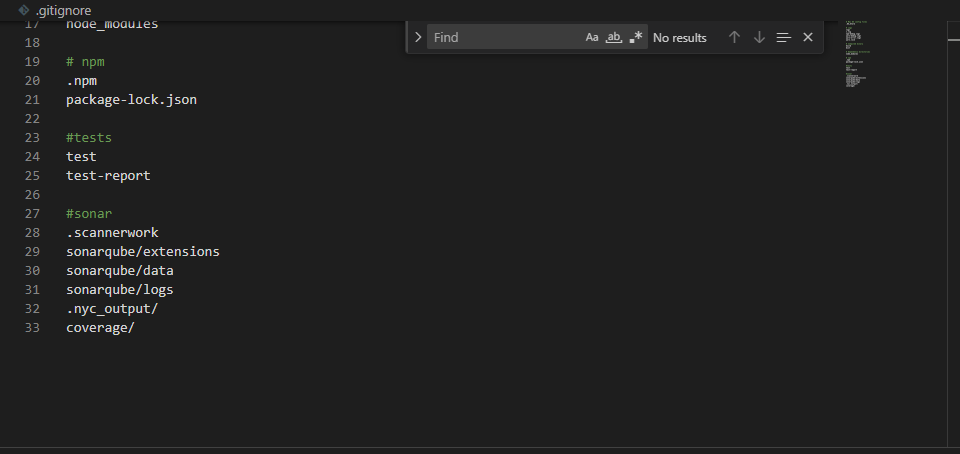
Step-8: Starting a new scan
Add this line in .gitignore files (if you are using git)
.scannerwork
sonarqube/extensions
sonarqube/data
sonarqube/logs
Run the command in command prompt
node ./sonarqube/sonarscan.js
Wait until this screen comes –
Step-9: Return to SonarQube dashboard and check how many bugs ,vulnerabilities, security hotspots you have
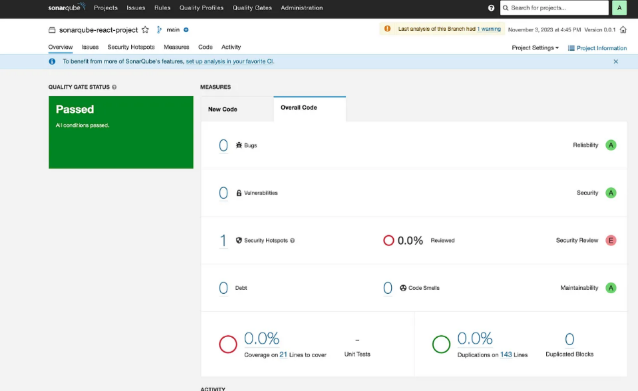
Finally, it is done.
Thank you for reading my article.
If you have any queries, please feel free to reach me.
Author Bio:

Saipraveen krishna PINNAMAREDDY
Associate Software Engineer - Application Development-Digital Transformation
Hi, I am Saipraveen, working as an Associate Software Engineering for almost 3 years now, at MOURI Tech . I am skilled in front-end programming languages like React and NodeJS. I am a dedicated team player, an efficient multitasker, and believe i have strong interpersonal and communication skills which have helped me grow professionally.