
Purpose of the article: Setting-up Power BI On-Premises Gateway in the Server.
Intended Audience: Power BI administrators
Tools and Technology: Windows server, On-Premises Gateway
Keywords: On-premises Gateway, Gateway, Power BI Admin
This blog will describe installation and configuration of the On-Premises Gateway on a Windows server. Power BI needs to connect to on-premises data sources. Although Microsoft offers Power BI as a cloud-based business analytics solution, there are situations where your data may be kept on-premises. In this instance, you will need a secure method to access and update such data within the Power BI service.
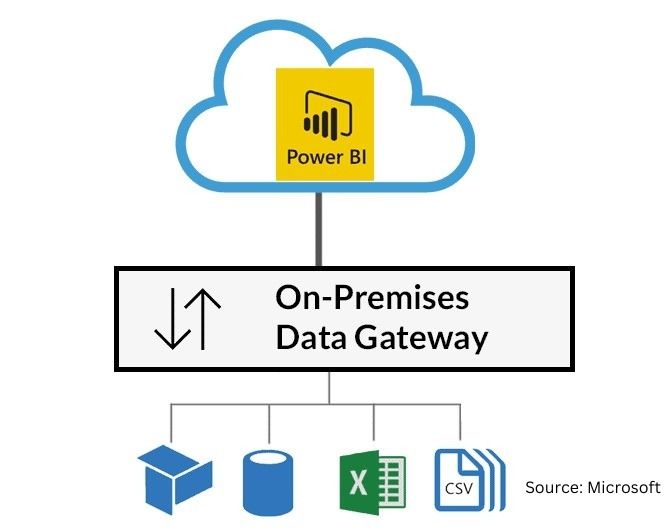
On-Premises Data Gateway: Databases and file systems are examples of on-premises data sources that Power BI can connect to and refresh using an on-premises data gateway. It serves as an intermediary between the on-premises data kept on a company’s network and the cloud-based Power BI service.
Types of On-Premises Data Gateway:
There are two types of on-premises gateways available. These are:
Personal Mode: Linked to a particular user account, this gateway is meant for personal use. When a single user needs to access on-premises data, it works well.
On-Premises Data Gateway (Standard Mode): Suitable for usage by several people in a company. Usually installed on a server, it is capable of managing data refreshes for multiple data sources.
In this blog, we will use an on-premises data gateway (standard mode) to install and configure. Before that, the user must be a Power BI Admin and also a Windows Admin, where we are installing the On-Premises Gateway.
Before installing the on-premises gateway, we must meet the following system requirements:
Minimum requirements
- .NET Framework 4.7.2, compatible with Gateway releases prior to December 2020.
- .NET Framework 4.8 (available starting in February 2021 for Gateway releases)
- A 64-bit version of the most recent TLS 1.2 and cipher suites, either Windows 10 or Windows Server 2012 R2,
- A 4-GB disk space for logs related to performance monitoring
Recommended
A 64-bit version of Windows Server 2012 R2 or later; an 8-core CPU; 8 GB of RAM; and solid-state drive (SSD) storage for spooling
Step 1: Visit the following link to download the on-premises gateway; it displays two types. Such as Standard Mode and Personal Mode. Here, standard mode is being used. https://powerbi.microsoft.com/en-us/gateway/
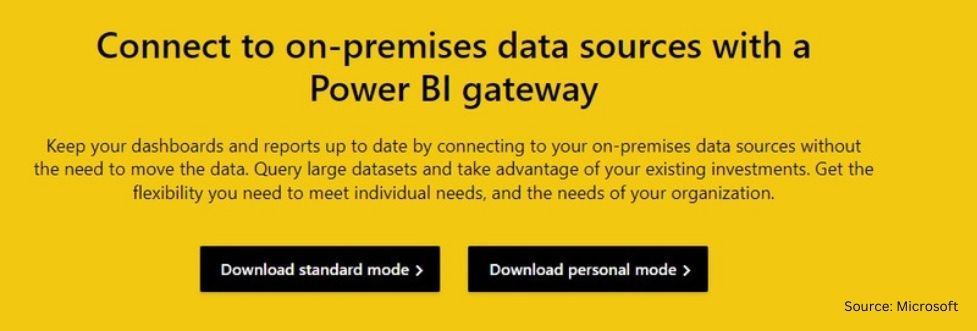
Step 2: Click “Download standard mode” after that. The exe file will be downloaded.
Step 3: Now double-click the downloaded file to install it with administrator rights. It appears as a window below. Click Install.
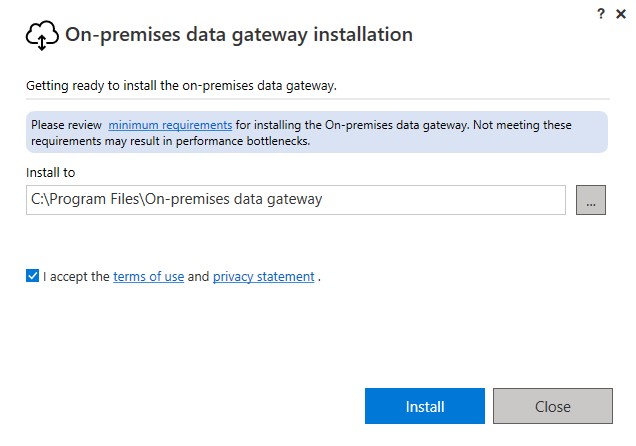
Step 4: Accept the terms of use, choose ‘Install,’ and maintain the default installation path. Click ‘Install’ to begin the installation process. A pop-up window will appear; click ‘Yes’ twice to proceed. The screen that follows will appear.
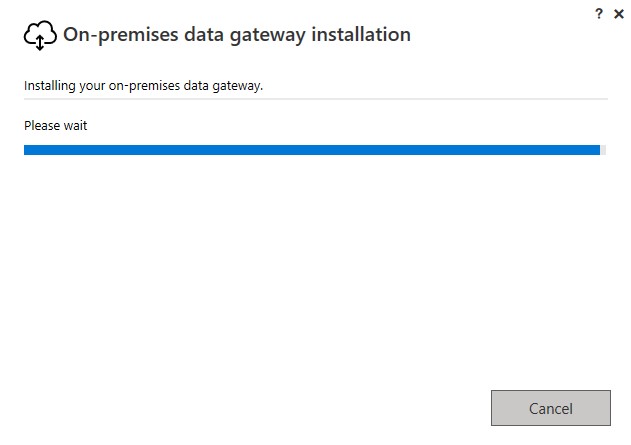
The installation will take a few minutes, so please be patient while it finishes. When it’s finished, a prompt to click “yes” will appear.
Step 5: A new window will appear, requiring us to sign in with your Office 365 organization email address.
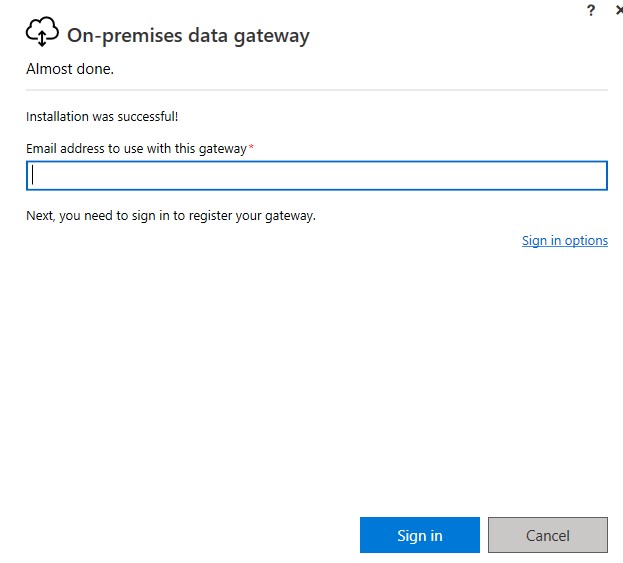
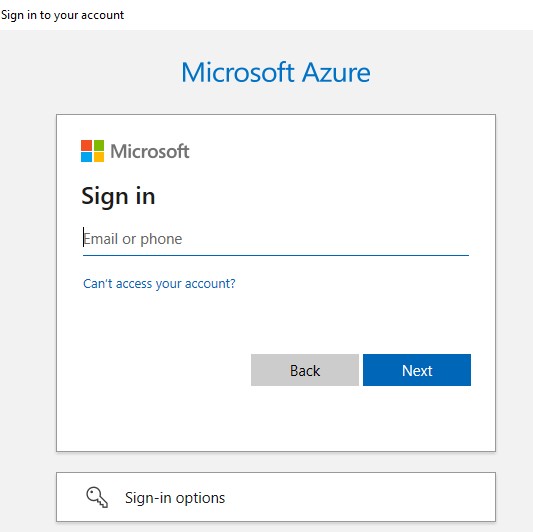
Step 6: It will ask you to enter your email address again when you click “Sign in” after entering your address.
Step 7: A new window with two options will open after you sign in. Choose On this computer, register a new gateway. Click Next
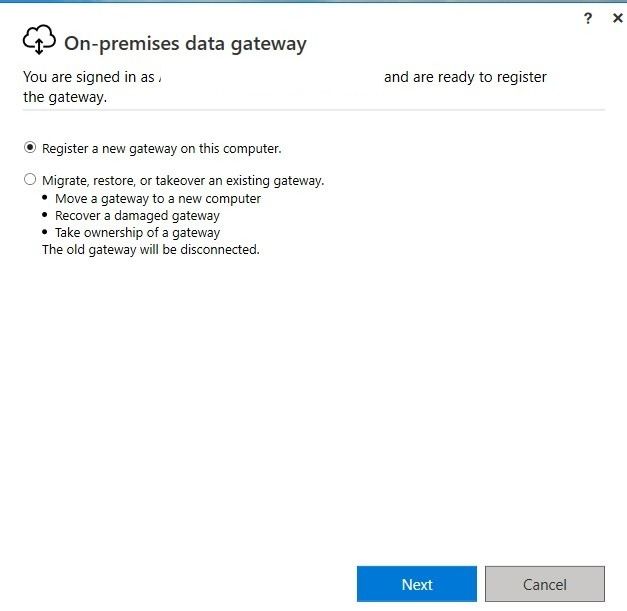
Depending on what you need, you can choose any option. Here, I’m selecting Register a New Gateway; click the next button.
Step 8: This is where we enter the gateway’s name. Every tenant must have a different name. Input a recovery key as well. If you ever want to move or recover your gateway, you’ll need this key. Click Configure.
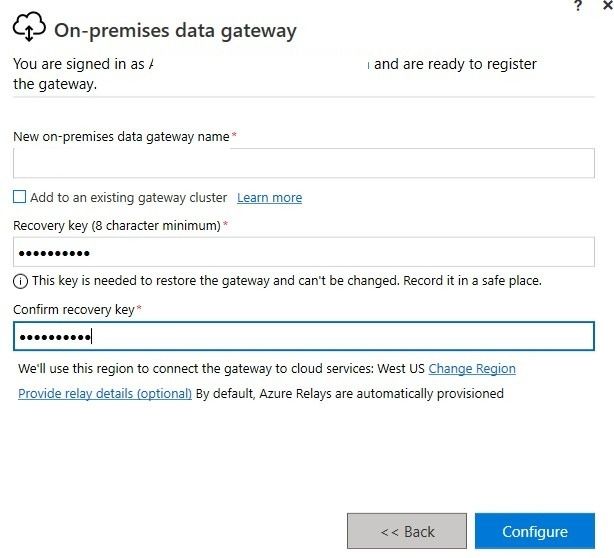
Note: Here, keeping our recovery key in a secure location is crucial. If the recovery key is misplaced, we won’t be able to use the restore option, and neither will Microsoft be able to assist.
Step 9: Click Configure after entering the details. The setup will be completed in a few minutes. Once completed a new gateway will be created or registered successfully. Following completion, this window will appear:
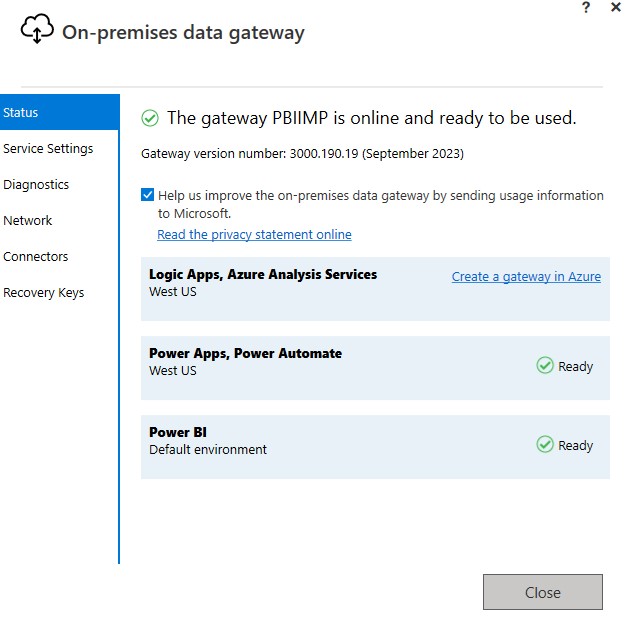
The status shown above indicates that our recently registered or created gateway is operational and is available for connecting on-premises data sources.
Conclusion:
Anyone who works as a Power BI administrator can install a new on-premises gateway on a Windows server to connect on-premises data sources such as SharePoint, SQL Server, and flat files within their organization by using this blog. It provides comprehensive instructions for one who wants to set up and install the on-premises gateway with ease.
References:
- https://powerbi.microsoft.com/en-us/gateway/
- https://learn.microsoft.com/en-us/power-bi/connect-data/service-gateway-onprem
- https://learn.microsoft.com/en-us/data-integration/gateway/service-gateway-install
- https://learn.microsoft.com/en-us/data-integration/gateway/service-gateway-onprem-indepth
- https://learn.microsoft.com/en-us/data-integration/gateway/service-gateway-monthly-updates
Author Bio:

Rammohan Reddy MADURU
Associate Software Engineer - Data Visualization - Analytics
I am Rammohan Reddy MADURU working as Associate Software Engineer at MOURI Tech for the past 1.4 years. My Areas of expertise include Power BI, Power BI Service, Power BI Admin, and SQL.